
Struggling to assemble or maintain your compression sofa?
This instruction manual walks you through everything—from unboxing and assembly to inflation, cleaning, troubleshooting, and proper storage—so your compression sofa performs at its best.
Let’s break it down, step by step, so anyone (yes, even first-timers) can do it right the first time.
What is a compression sofa?
Moved into a tight space or bought a sofa online?
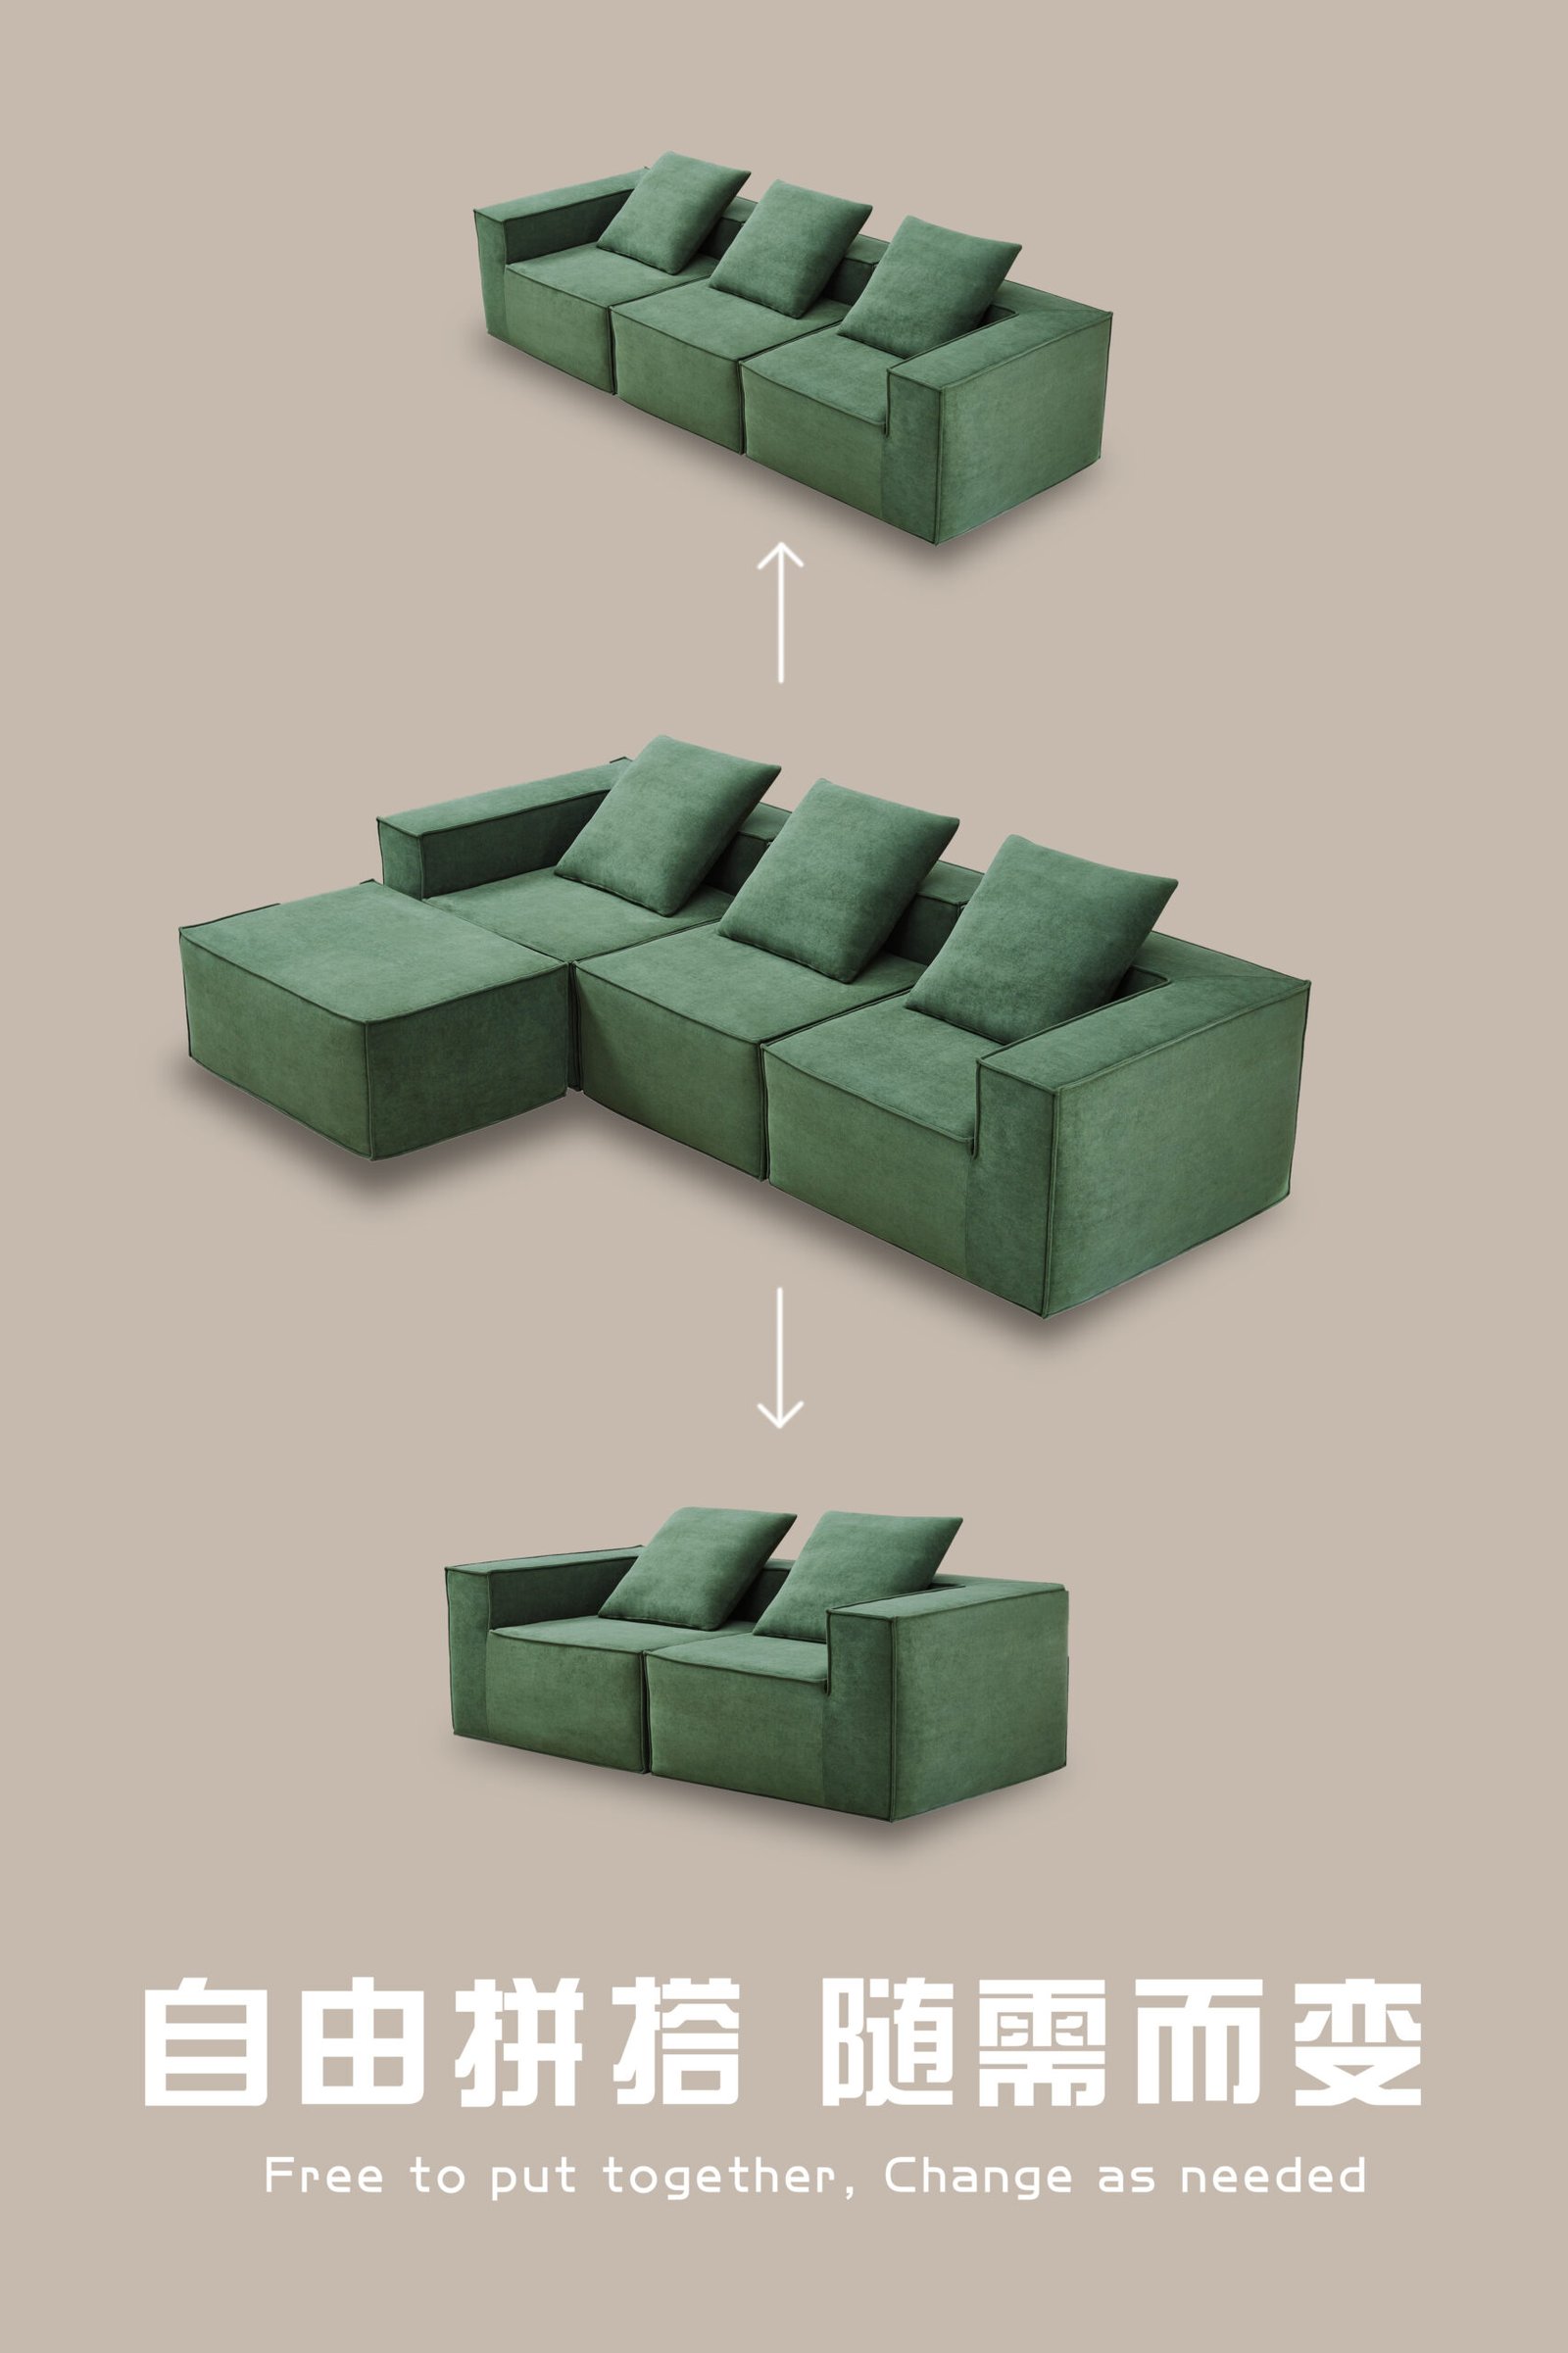
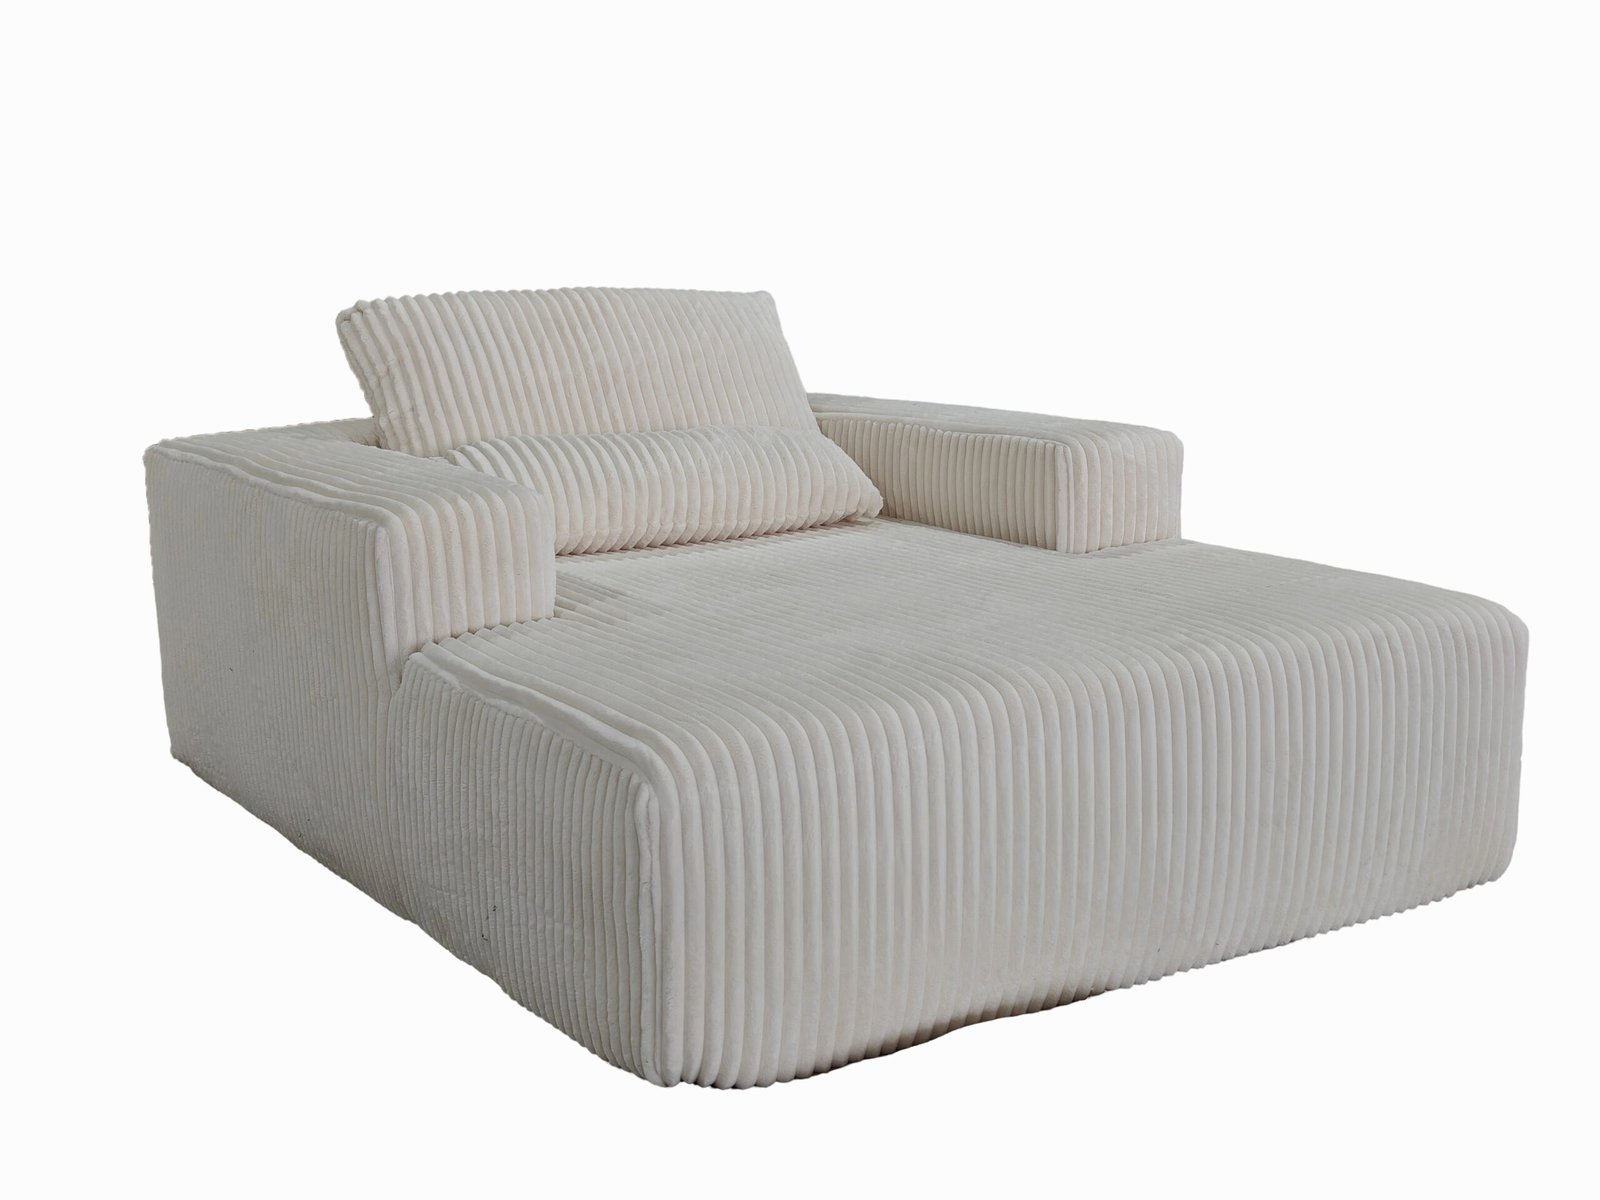
A compression sofa is designed for easy transport, compact delivery, and tool-free setup. It uses compressed foam or spring systems and is often vacuum-packed or folded into a box.
Great for apartments, small homes, RVs, and e-commerce shoppers—it expands into a full-size sofa with ergonomic comfort and solid support.
| Feature | Description |
|---|---|
| Packed Size | Usually fits in a 1m x 0.5m x 0.5m box |
| Materials | High-density foam + steel or wood frame |
| Setup Time | 15–30 minutes, no pro tools required |
| Uses | Seating, sleeping, lounging, compact living |
Step 1: Unboxing and Checking Parts

Ready to begin?
- Place the box in a clear, flat area.
- Open carefully with scissors (don’t cut too deep).
- Take out all components and lay them out.
What should be in the box:
- Frame parts (legs, support bars, arms)
- Cushion pack (compressed foam or air-inflatable)
- Fabric covers or pre-installed upholstery
- Inflation pump (manual or electric, for inflatable models)
- Instruction manual + small tool kit
📦 Double check against the packing list. Contact support if anything is missing.
Step 2: Assembly Instructions
No toolbox? No problem.
Most compression sofas use click-lock or screw-in parts. Follow this order:
- Assemble frame base: Connect bottom bars and screw in legs.
- Attach side arms: Align side rails with the base frame and secure with bolts.
- Add backrest: Slide it into place and lock or bolt.
- Lay in support panels: Usually slats or fabric-tension panels.
- Place seat cushions (or prepare for inflation).
🔧 Most parts connect by hand or with the included Allen wrench.
Step 3: Inflation (for inflatable cushion models)

Inflating for the first time? Go slow.
- Find the valves—usually hidden on cushion sides.
- Attach the air pump (manual or electric).
- Inflate gradually, checking firmness as you go.
- Do not overinflate. The surface should be firm but slightly springy.
- Seal the valve and tuck it into the hidden pouch or zip pocket.
💡 Tip: Inflate each section evenly if your sofa has multiple compartments.
Step 4: Usage Guidelines
Enjoy your sofa—but treat it right.
- ✅ Sit, lie, or recline comfortably
- ❌ No jumping, standing, or sharp-object use
- ✅ Rotate and flip cushions weekly for even wear
- ❌ Avoid placing near heat sources (radiators, heaters)
Always follow the weight limit listed in the manual—typically around 250kg (550 lbs) total.
Step 5: Maintenance & Cleaning
Keep it clean = keep it comfy.
Daily:
- Fluff and reposition cushions
- Wipe dust with microfiber cloth
- Keep food and drink to a minimum
Weekly:
- Vacuum with upholstery brush
- Spot clean small stains with mild soap and damp cloth
- Check cushion firmness (top off air if needed)
Monthly:
- Deep clean fabric using upholstery steamers
- Use leather conditioner (if applicable)
- Inspect all joints, screws, and inflation valves
Step 6: Troubleshooting Common Problems

Something feels off?
| Issue | What to check/do |
|---|---|
| Cushion is saggy | Add more air / check foam hasn’t shifted |
| Frame squeaks | Tighten bolts / add felt pads under joints |
| Zipper broken | Use pliers to realign or replace slider |
| Valve leaks (inflatable) | Patch with included kit or request spare |
Still stuck? Contact HSM customer support—we'll walk you through it.
Step 7: Storage Instructions
Need to move or store your sofa?
- Deflate (if inflatable model).
- Disassemble frame parts and group them in bags.
- Vacuum cushions and covers.
- Wrap fabric in breathable cotton sheet (not plastic).
- Store upright in a cool, dry place—never under heavy objects.
🎯 Tip: Label each part with masking tape for quick reassembly later.
Warranty & Support
All HSM Compress Sofas come with:
- 1-year structural warranty
- 6-month cushion & inflation part warranty
- Free technical consultation
- Replacement parts shipping in 100+ countries
Conclusion
Follow this manual and your compression sofa will deliver years of comfort, convenience, and compact efficiency—whether you live in a tiny apartment or travel the world.